
A Paper Celestial Sphere
A paper “map of outer space” for kids to label, cut out, and form into a pair of hemispheres.
When I taught astronomy to children, we spent a good part of the year (off and on) going over the individual stars and constellations that they could see in the night sky after dinner. Sometimes students would try taping the paper charts of different constellations next to each other to represent how they go together. Somewhere along the way, after we have learned a few constellations over there and over there and over there, a student would often ask if it is possible to make a “world map” of all the constellations. If nobody asks, I wonder it aloud for them. If we could make such a map, what shape would it have to have? (We might have a problem with the fact that the constellations move, and are in different parts of the sky in different times. We have a few questions of motion to figure out, but it turns out that we can make a “world map of stars,” in the shape of a sphere, as long as we remember that it has to spin the right way.) And if we can make such a “world map of stars,” wouldn't it be almost as useful as a globe map of the earth? The globe is our map of our entire home world, and a spherical “globe” of constellations would be our map of outer space.
And some time after Christmas, after we have finally covered all of the bright and helpful landmarks in the sky, it would finally be time to see if we could put all the pieces together and make our “world map” of all constellations, our map of outer space.
The Terrestrial and Celestial Spheres
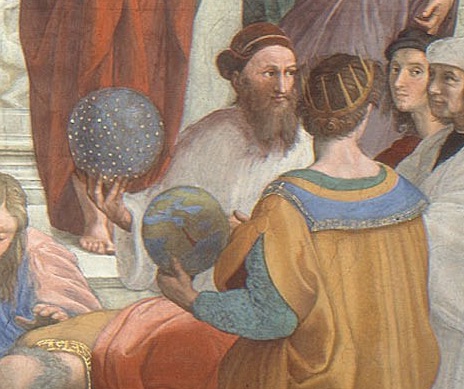
Perhaps you are familiar with The School of Athens, Raphael’s tribute to the seekers of wisdom in the ancient world. Do you notice anything if you look closely at the right side?

In the lower right-hand corner of the painting, we see two figures holding two spheres. One sphere is a mélange of blue and brown-green regions. The other sphere has lots of tiny white or yellow spangles on a dark, maybe dark blue, background. What do you suppose these two spheres are supposed to represent? (For some reason I haven’t figured out yet, young children often say the earth and the moon, despite the fact we’ve spent the last class period or two talking about the “world map of stars.” I wonder if maybe 2nd or 3rd grade is the youngest we should expect children to be able to grasp the concept of a spherical map of the constellations surrounding us...)
Among many aspects of wisdom depicted in the painting, these two spheres represent Greek knowledge of the structure of our cosmos. They represent our two maps of the universe. The blue-green sphere is obviously a depiction of the earth, our home world. The Ancient Greeks figured out long ago that the world had the shape of a sphere, despite having only mapped out less than an eighth of the surface. What was on the other side of the sphere was a total mystery, but they knew their world was round, and composed of land and sea. That's the first of the two spheres. The second sphere is our map of outer space, our neighborhood in all directions. Whether there is a physical “crystal sphere” surrounding us and spinning, or whether there are just a bunch of stars scattered around in space with us spinning as we watch them, was a challenging question to answer. But the immediately useful point is that we can make a map of outer space as a sphere around us, and to this day, we refer to this map as the “celestial sphere.”
Manufactured Celestial Spheres
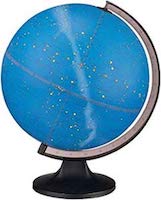
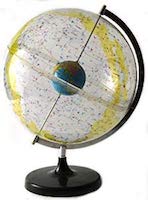
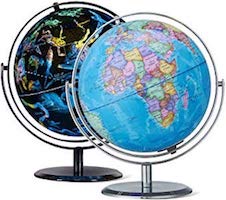
So if we wish to admire a celestial sphere or a “constellation globe,” what can we do? A few manufacturers of globes also make celestial spheres. These are a few examples:
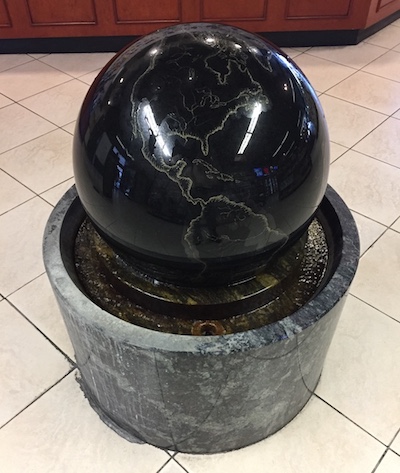
It is also not too difficult for stone-workers to produce polished stone spheres, and sometimes people turn these stone spheres into globes. Even better, if you rest the sphere on a concave water fountain, they will “float,” allowing you (with lots of effort) to spin them and turn them any way you wish. Such things are called Kugel Fountains, and I really wish there were more of them around. This is an example of a kugel fountain globe at my local car wash:
And even better, this is an example of a kugel fountain celestial sphere at Johnson Space Center in Florida.
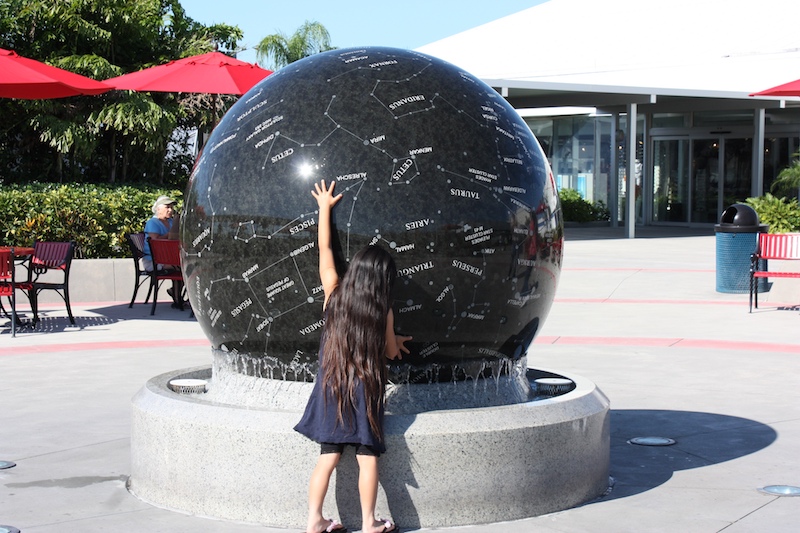
However, despite how impressive such manufactured celestial globes might be, they have a fundamental drawback. There is a basic flaw in making a globe of stars that we can hold in our hands (or in a stone cradle) and look at. Can you see the flaw? Whenever we look at spheres like this, we are on the outside looking in, when we should be on the inside looking out. These celestial globes are supposed to represent the sphere of constellations surrounding us, so if we draw them as a sphere with us on the outside, everything will appear backwards. All of the constellations will be inverted. You could draw the sphere ‘inside-out’, so the constellations look normal, as they did when they made the Johnson Space Center Kugel Fountain, but then it isn't really the true celestial sphere, but a mirror-image version of it.
Paper Celestial Spheres
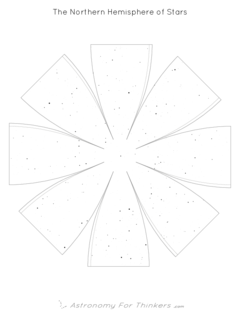
I wanted a way for students to be able to make their own celestial spheres in the classroom, out of paper, and I wanted them to be able to look at them from the inside, as if they were really looking at the sky. The main problem was that you can't make a spherical shape from a normal flat piece of paper without a lot of tearing or crumpling. So how do the manufacturers of classroom globes do it? Most manufactured globes have a paper layer containing the printing, and the globes are made by printing the colors into a shape that resembles a flower, with “petals” radiating in all directions from a central point. The starting shape looks something like this:
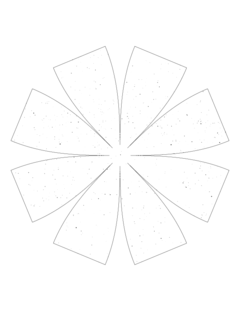
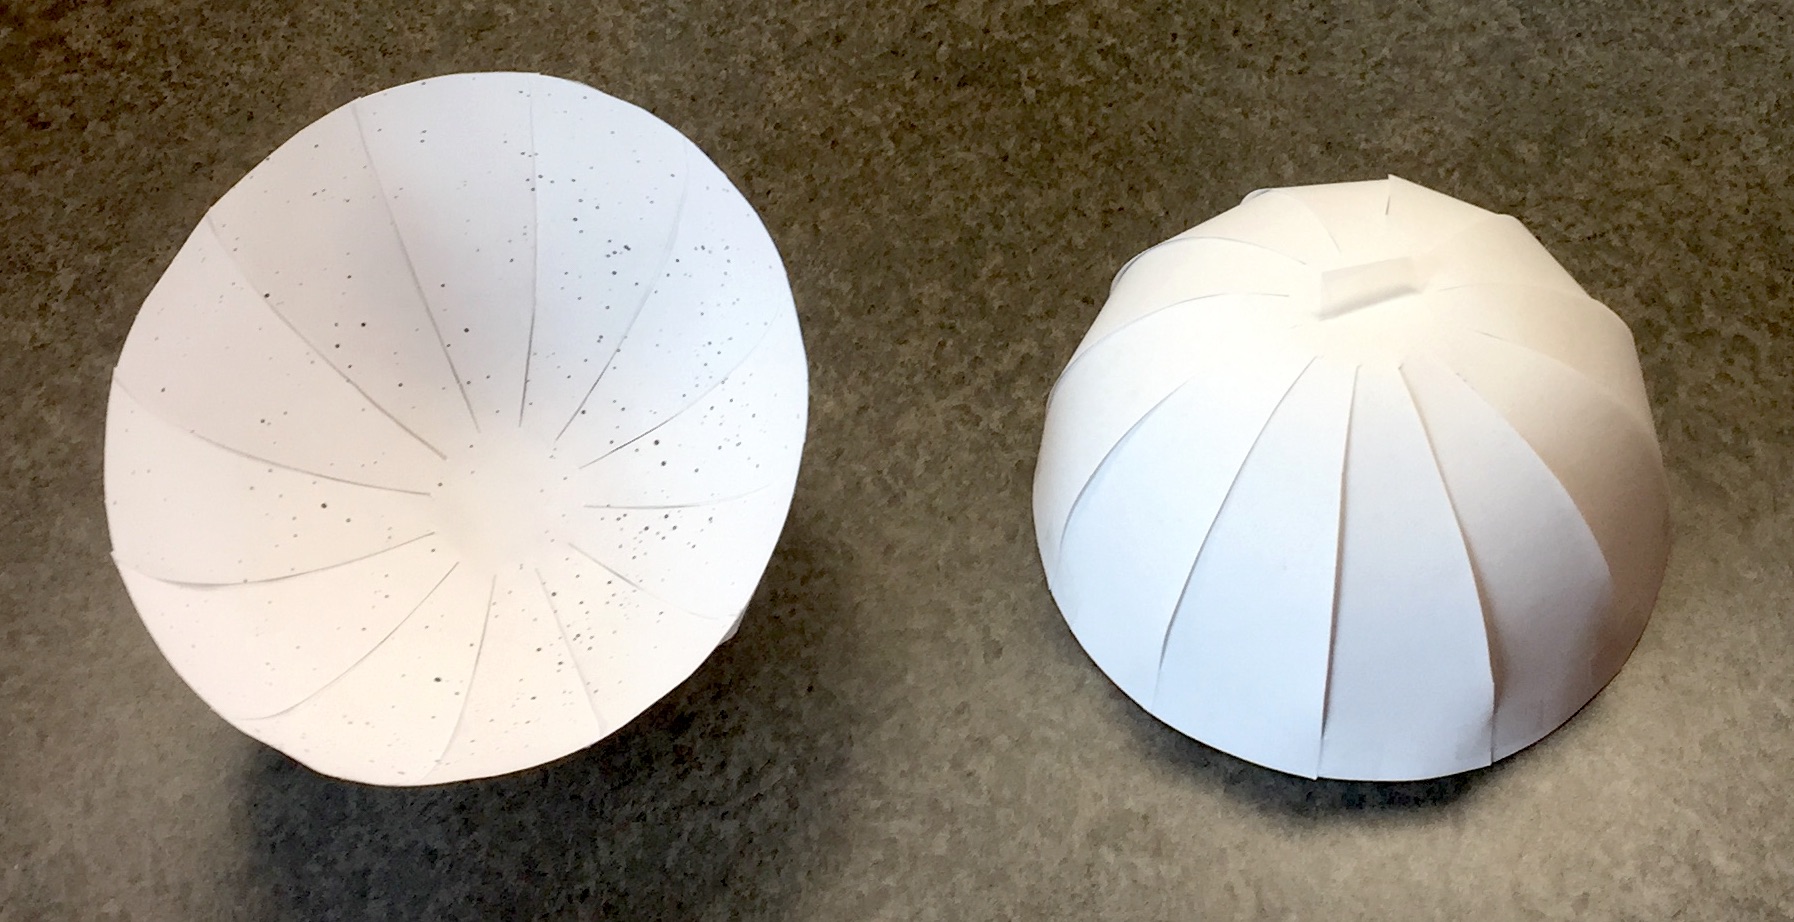
These “petals” are then folded down over a hemispherical form and pressed into a hemispherical shape. Examine a globe closely sometime and you will find the seams. In the classroom, we can't achieve the same beautiful result without the forming and pressing process, but if we start from the right shape, we can cut out a flower shape and fold the “petals” into a reasonable approximation of a hemisphere. If we print the stars on the inner surface, we can make a Northern Hemisphere of stars, and a Southern Hemisphere of stars.
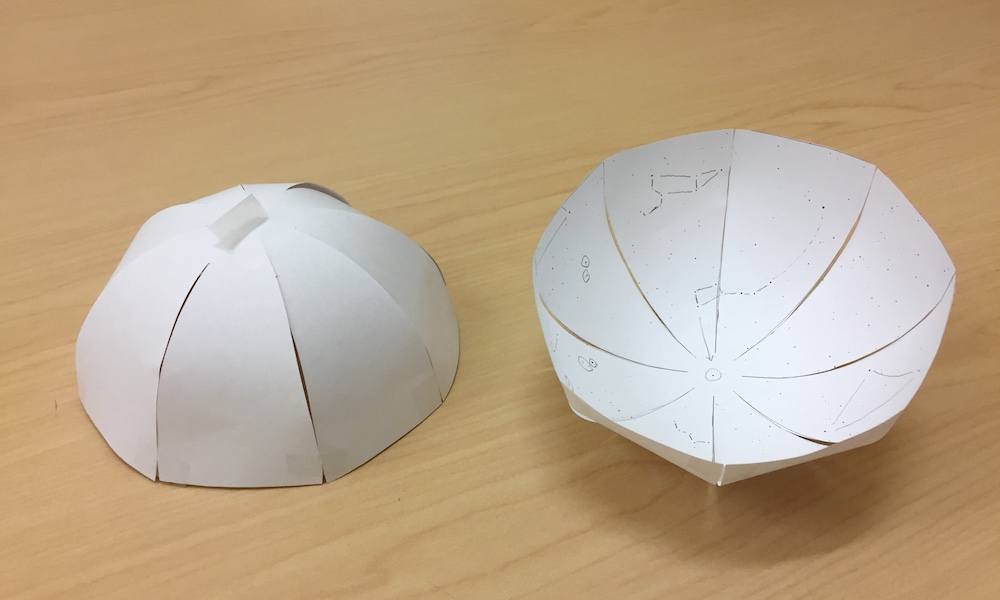
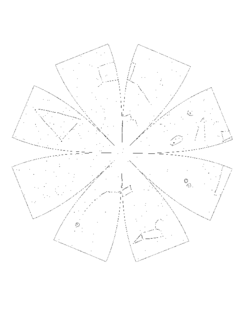
For classroom hemispheres, the most difficult thing about making these things is drawing the initial figure. Figuring out the proper shape to draw the outline and the proper place to draw the stars requires a lot of fancy math. But I think I’ve done a pretty good job of that, and I’m offering the results in the downloads section. Once you have that, the rest is fairly straightforward. Just cut out the shape around the outline, and then tape the bottoms of the ‘petals’ together side by side. You can also fold an extra piece of tape and stick it to the top to use as a handle. When I do this as a project with students, I use it as a chance to review all the constellations, and maybe add a few that we’ve never seen before in the southern hemisphere, and before we cut out the flowers I make the students draw in the stick figures of the constellations. I might or might not make them write in the names of stars and constellations, considering that there isn’t a great deal of room to draw without cluttering up the map.
Improvements and Alternatives
The paper hemispheres shown above represent an early version of my paper hemispheres, and I keep them here for nostalgia's sake. However, I have since made a couple of improvements, and I include these as “Bright Stars” and “Dark Sky / All Stars” in the downloads section. On the one hand, I thought the stars were a bit small on the first version. Perhaps it's just my aging eyesight, but I wanted larger stars. But on the other hand, if you include every visible star in the sky, even those visible in clear skies on dark nights, it becomes overwhelming. As a teacher, I found that young children could never properly identify the bright landmark constellations on a map with every star, because they would get distracted by all the dim stars and lose sight of the important shapes. And if you live in a city, you will never be able to see any of the dim stars anyway. So I wanted to try to make two versions: one that would be like a comprehensive star atlas, containing all the stars you might see if you could go into the desert or the mountains far from haze and city lights, and another one with only the bright stars and important landmarks. Fine-tuning the appearance of the stars is a bit of an art, but the “Bright Stars” and “Dark Sky / All Stars” versions in the downloads section represent my best attempts so far to produce star maps suited to these two different purposes. (By the way, something always feels a little bit off when I talk about the important bright “landmark constellations” ... but “skymark constellations” just doesn't make sense. What about “signpost stars”?)
My favorite improvement is that I added “tabs” — thin blank regions along one side of each petal. Sometimes I would fill my students with desire and motivation to make beautiful paper hemispheres, and teach them carefully how to do so, but then they would be disappointed in the unsightly but unavoidable gaps that would appear between the petals. These “tabs” help to hide the gaps, as well as make the taping process a little easier. With tabs, you could now use glue instead of tape if you wanted to, but I find I still tend to get better results with tape. When taping the hemispheres together, the overlap area of each petal needs to be covered by the edge of the adjacent petal. I still recommend using only a single piece of tape, as narrow as possible, along the bottom of the petal. (You could try a second row of tape about halfway up the side to make the dome a little more sturdy, but I don't think it helps enough to be worth the trouble.) With a little care, you can now make quite attractive paper hemispheres.
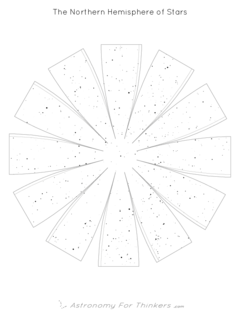
Another minor change lies in the number of petals — I made the “Bright Stars” version with 8 petals as before, hoping to make the more elementary version easier to make, but I made the “Dark Sky / All Stars” version with 12 petals, hoping that people making the fancy one will be willing and able to put in a little more effort to make a more perfect and more beautiful hemisphere.
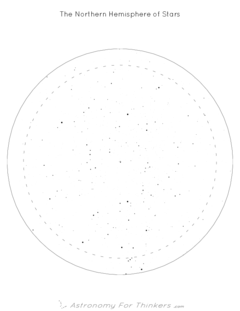
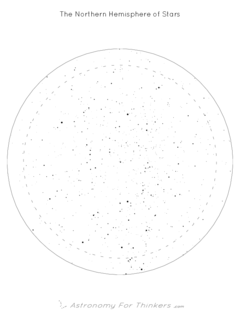
Besides these hollow paper hemispheres, it is also possible to simply flatten each hemisphere into a circle. (Technically, I used "stereographic projection“ to do so.) As a teacher, I sometimes found these handouts to be helpful when reviewing constellations, or when discussing the rings of ”circumpolar stars“ and ”zenith stars“ with older students. You can find links for these flat maps in the downloads section as well, along with an example of some of what I regard as the important ”signpost stars", the bright landmarks that you can use to find your way around the sky. Until I can put online a complete tour of the stars and constellations, please regard these “labeled landmarks” as my list of important stars and constellations that educated children should know, at least children in the northern hemisphere. In these “Flattened Hemisphere” handouts, I've actually included a bit of an overlap region, and the dashed line marks the actual Equator of Stars. I prefer not to cut Orion in half if I can avoid it.
In addition to these improvements to the paper celestial spheres, I have also recently worked out a few other ways of making celestial globes in a somewhat more substantial form, so I can now offer a whole collection of ways to make celestial spheres in the classroom, including polyhedral globes and solid globes. However, these new type of celestial globes each have their own separate discussion. You can read more about them by clicking on the links.